
How Do You Use a Curling Iron Stove Kit the Right Way
2025-11-05
When I first joined Rayvex, our team spent years perfecting the curling iron stove kit to meet the needs of both professional hairstylists and beauty enthusiasts. Many customers often ask how to use this tool safely and effectively—so I’m here to share everything I’ve learned from years of experience in product design and testing.
What Exactly Is a Curling Iron Stove Kit and Who Needs It
A curling iron stove kit is a professional-grade heating system designed for stylists who use marcel irons or traditional curling irons without built-in heaters. Instead of plugging in your iron, you heat it using a stove unit, allowing for more control over temperature and faster results.
This kit is especially popular in hair salons, backstage styling setups, and professional beauty schools. If you’re aiming for precise, long-lasting curls and smooth finishes, this tool will become your go-to essential.
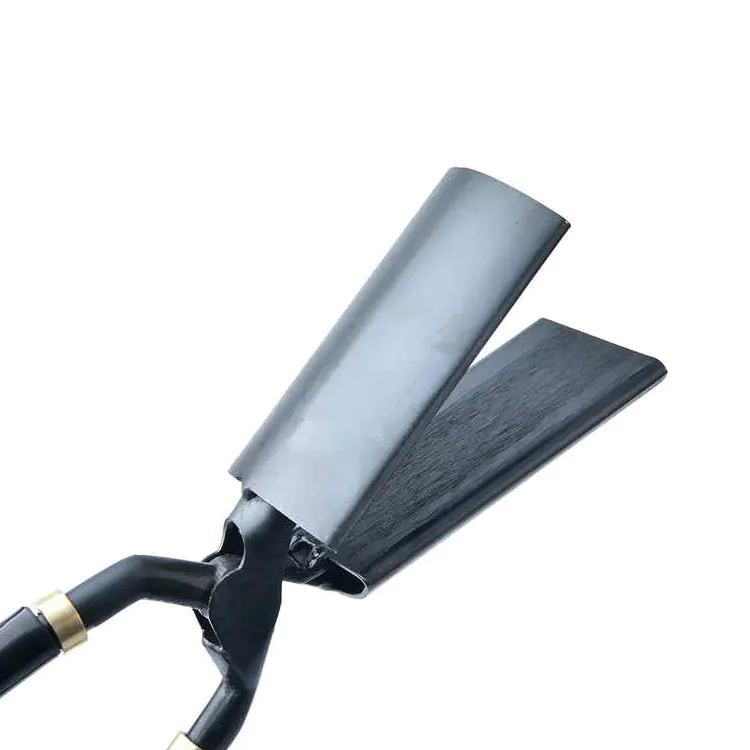
What Are the Main Components of Our Rayvex Curling Iron Stove Kit
To ensure stability and performance, our kit includes several parts designed for convenience and safety. Here’s a quick overview:
| Component | Description | Key Benefit |
|---|---|---|
| Stove Base | High-temperature alloy heating element | Heats quickly and evenly |
| Iron Stand | Heat-resistant holder | Prevents surface burns and ensures stability |
| Temperature Control Dial | Adjustable settings (up to 900°F) | Allows precision heat for different hair types |
| Power Cord | 2-meter industrial-grade cable | Flexible and durable for salon use |
| Safety Switch | Built-in auto shut-off | Protects from overheating or accidents |
Each part is carefully tested to meet international salon safety standards.
How Should You Use a Curling Iron Stove Kit Safely
Before you start, make sure you have a clean and dry workspace. Then follow these steps to get perfect curls every time:
-
Plug in the stove kit and set your desired temperature using the control dial.
-
Allow the stove to heat up for about 5–8 minutes until it reaches the optimal level.
-
Insert your curling iron barrel into the stove chamber and heat for 1–2 minutes.
-
Test the iron temperature using a paper towel—if it slightly browns, it’s ready for use.
-
Begin styling, sectioning your hair evenly for smooth, consistent curls.
-
Place the iron back on the heat-resistant stand between uses to maintain the ideal temperature.
What Problems Does the Curling Iron Stove Kit Solve
As someone who’s tested many heating tools over the years, I’ve seen stylists face the same frustrations—uneven heat, slow warm-up times, and short product lifespans. Our Rayvex kit was built to fix exactly that.
-
Faster heating time compared to plug-in curling irons
-
Longer-lasting heat retention, perfect for high-volume styling sessions
-
Durable design that withstands daily salon use
-
Adjustable temperature range suitable for all hair types, from fine to coarse
Why Do Professionals Prefer Rayvex Over Other Brands
Here’s a side-by-side look at what sets us apart:
| Feature | Rayvex Curling Iron Stove Kit | Standard Stove Kit |
|---|---|---|
| Heat-up Time | 5–8 minutes | 10–15 minutes |
| Temperature Range | Up to 900°F | Up to 700°F |
| Material | High-temperature alloy | Standard metal |
| Safety Features | Auto shut-off & insulated handles | Basic thermal protection |
| Warranty | 1-year replacement | None |
Stylists tell us that once they switch to Rayvex, they never go back. The difference in performance and control is that noticeable.
How Can You Get the Best Results from Your Curling Iron Stove Kit
-
Always clean the iron barrel before heating.
-
Adjust the temperature according to hair texture.
-
Avoid over-heating by using short intervals for touch-ups.
-
Let the stove cool fully before storage.
These small habits can dramatically extend the life of your tool and improve your results.
Ready to Upgrade Your Styling Tools
If you’ve been searching for a professional, reliable, and easy-to-use curling iron stove kit, it’s time to experience the difference that Rayvex makes. Our team is here to help you find the right setup for your salon or home use.
👉 Contact us today for a quote, wholesale pricing, or personalized recommendations. Your perfect styling partner is just a message away!